Alaina’s blog Thoughts, Assignments, and Other things

Category Archives: Crown Project

Day Five of Crown Project

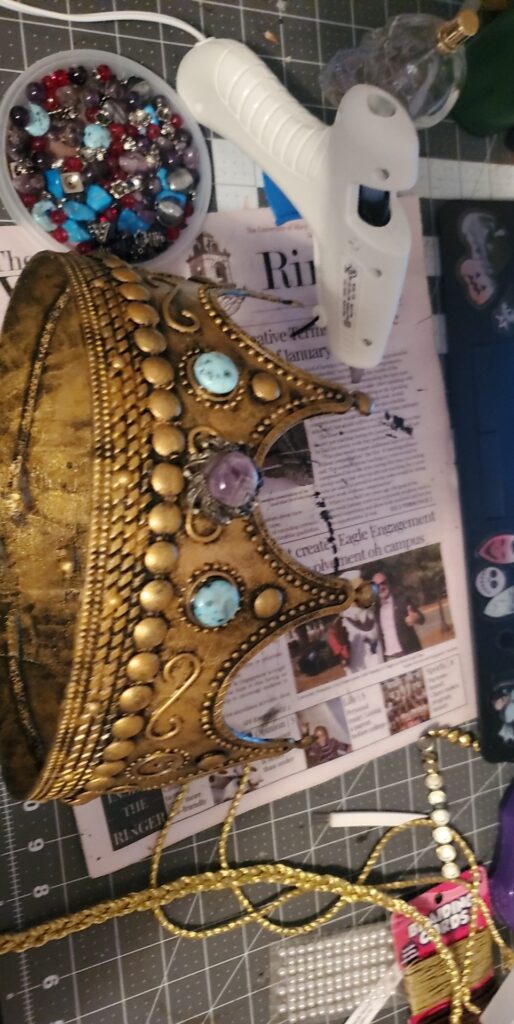
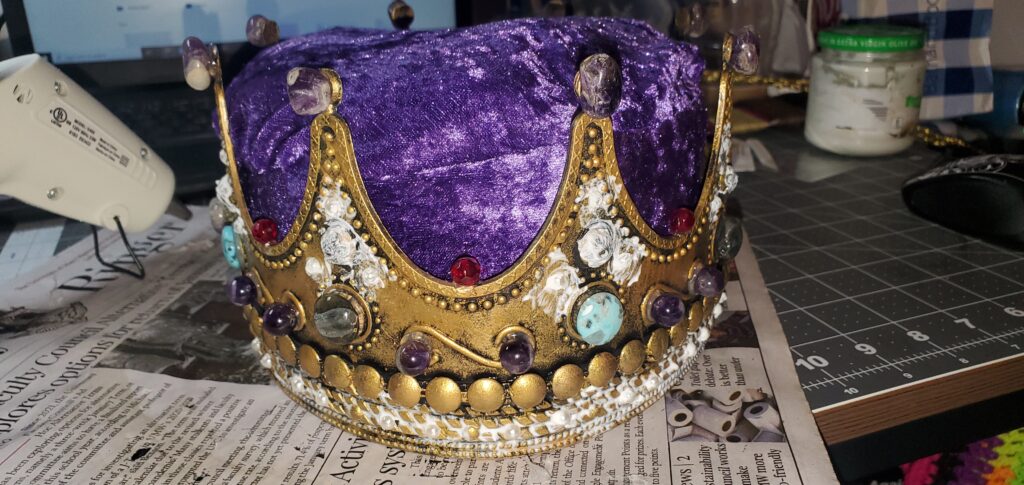
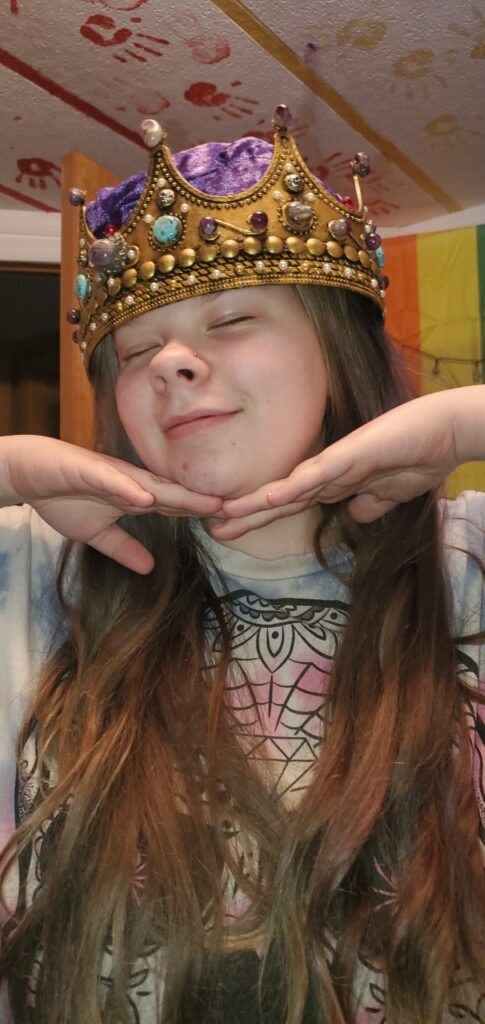
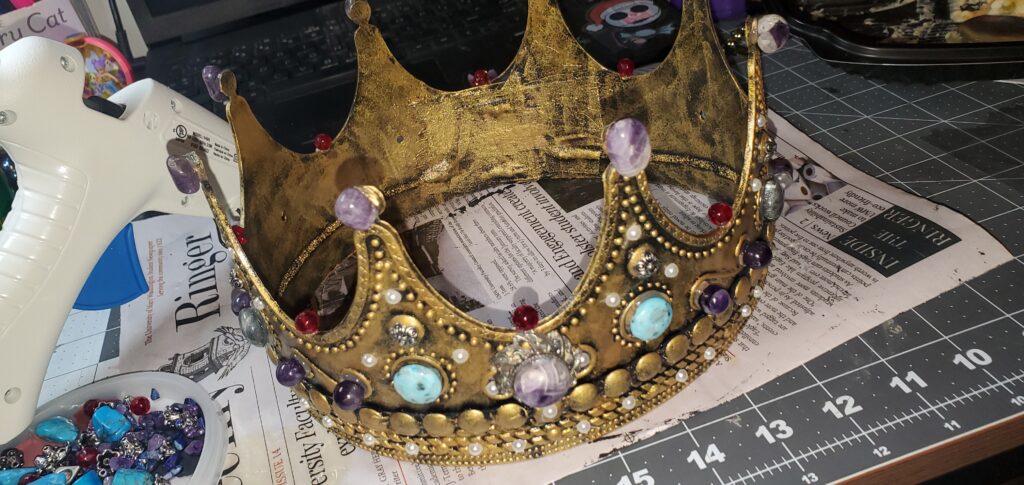
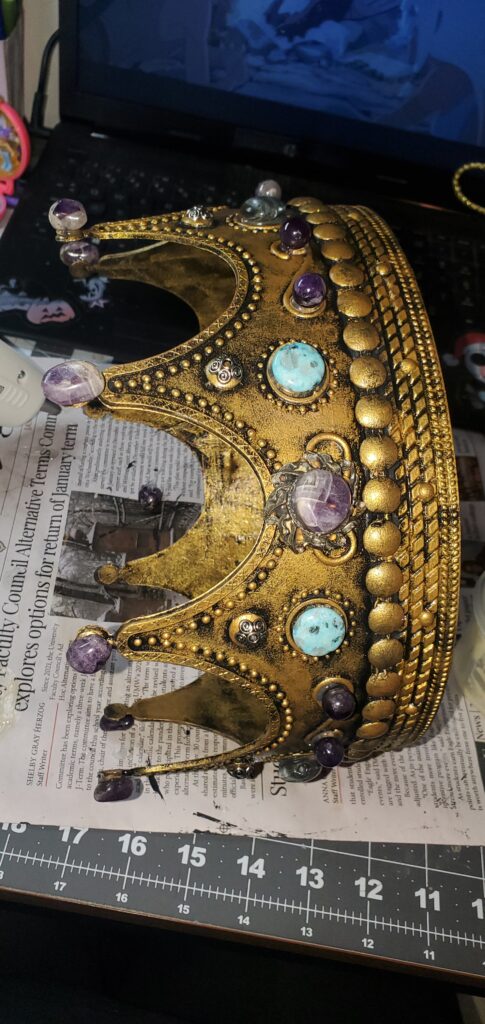
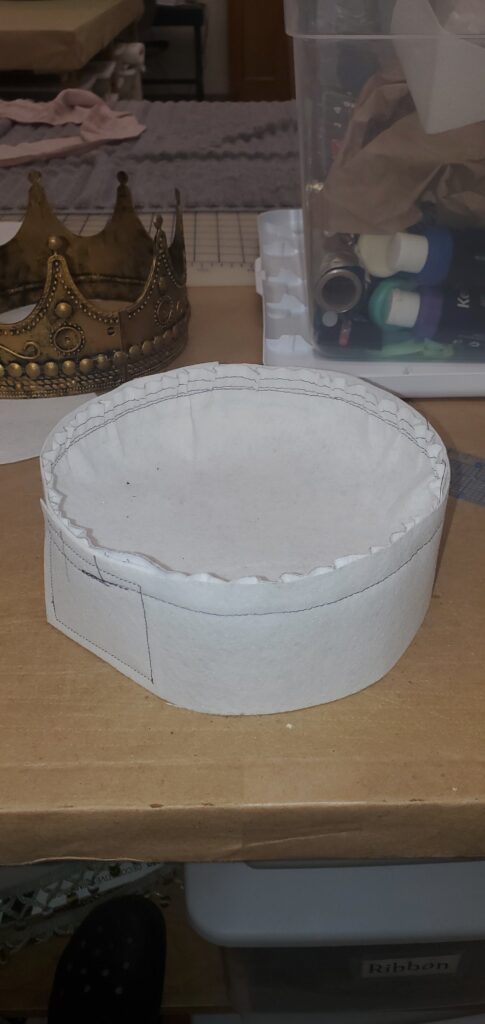
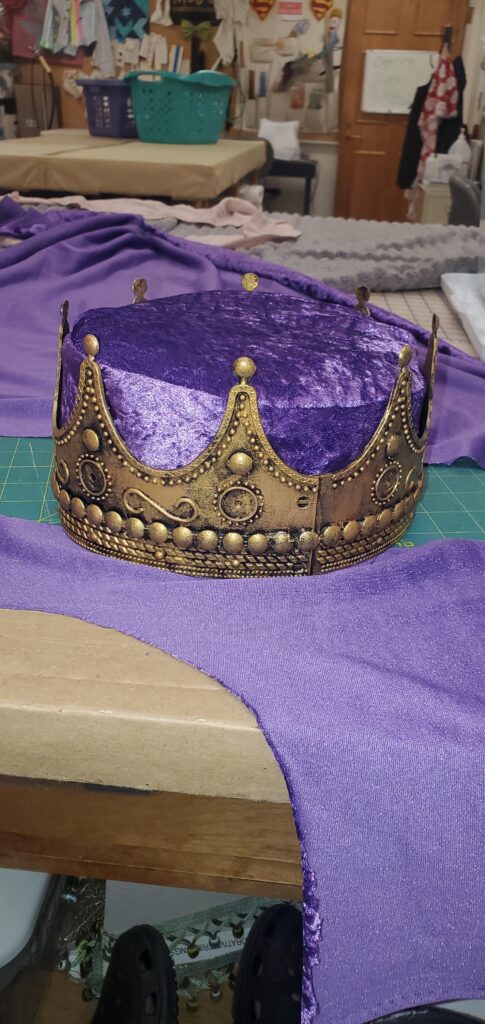
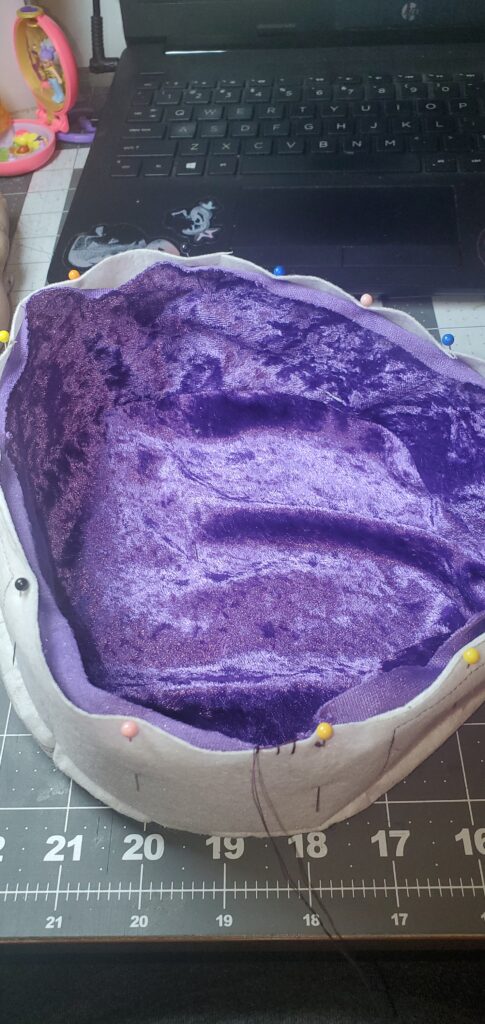
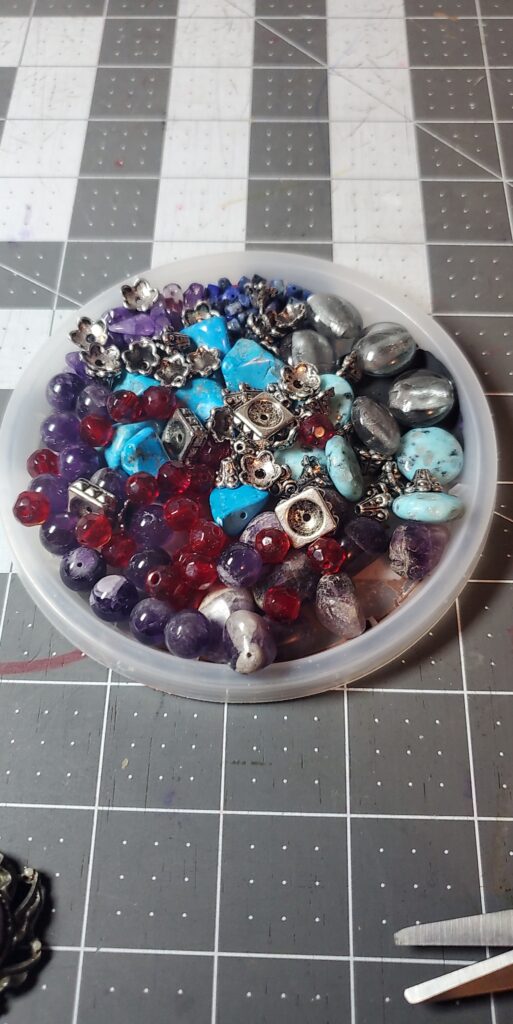
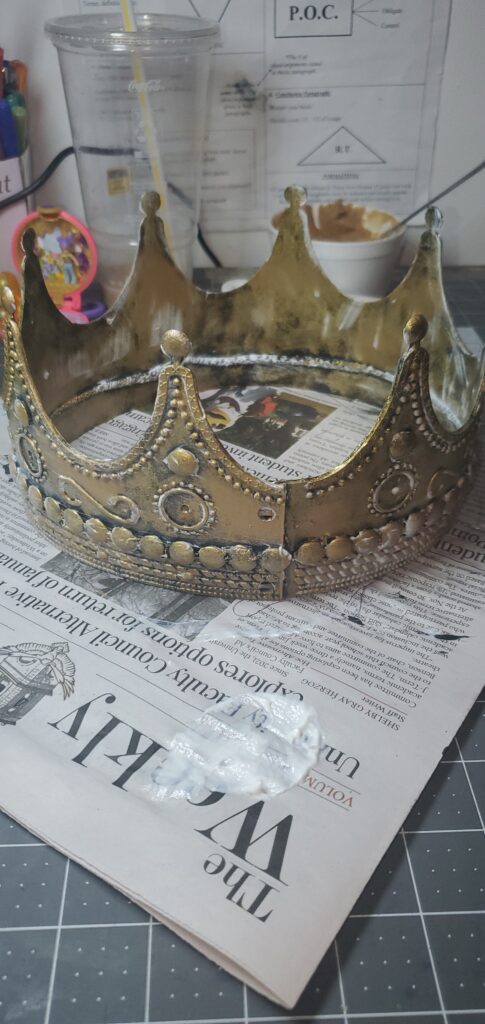
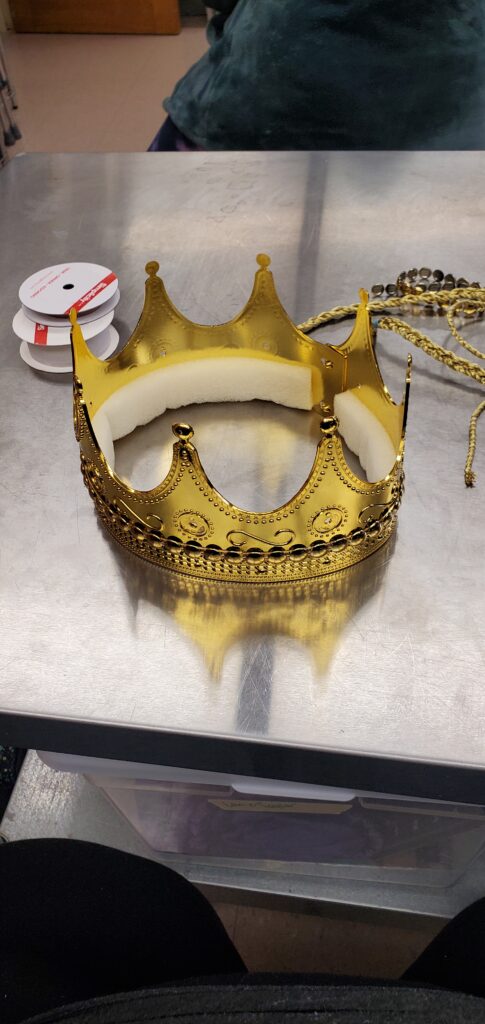
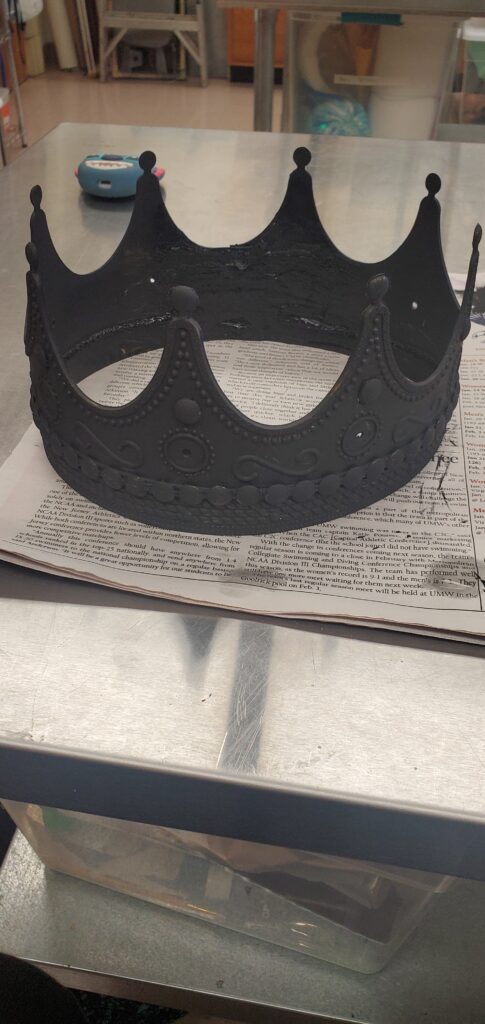
I was able to take the time to carefully plan where the majority of the embellishments went on. I carefully hot-glued them down in their selected spots. At first, I thought that the colors were a bit much for the gold that I had chosen, but as time went on I grew to really love how it turned out. Between the real crystal beads to the little plastic sticky pearls I placed, each added an element to the crown. Once the gems were glued down and safely secured, I began to attach the cap to the crown. At first, it seemed fine to use the hot glue, but it had issues holding onto the plastic and paint. So I turned to using Krazy glue. I ensured that there weren’t any spots soaked through the fabric and that it did not have an obnoxious odor. I then skulpticoated the plastic pearls and beads that I worried about falling off, I needed that extra bit of protection if it was to be worn by an Actor, hypothetically. By the time the crown was done my youngest sister had come in to check in on my progress. She was very willing to model the finished project.

Day Four of Crown Project

This day I spent time looking through things around the house and collected some crystal beads and findings that my mother and I have collected for a while. They added lots of texture and shine to the crown as well as a weight that makes the crown feel very solid. Once that was gathered, I began working on a pellon and fake crushed velvet dome for the inside of the crown. First I measured out the inside of the crown, then added 5/8″ of a seam allowance, giving me plenty of room to manipulate the hat into a circular shape. I repeated the process twice with the crushed velvet, creating a soft look.

Day Three of Crown Project

I went out and found a nice medium gloss clear acrylic paint at the store. I was a bit worried at first about what if it did not fully dry clearly or if it would interact weirdly with the other paint, but my worries did not live long. After testing it out on the inside of my crown, I found that it actually had a nice shine to it when dry and added a clearness to the metallic paint. In my opinion, it truly looked like a metal crown. I painted the entire crown and went to bed, and when I woke up I found that it had dried evenly and clearly.

Day Two of Crown Project

The next step I took was layering different shades of metallic gold acrylic paints. It added a really interesting aged look between the different shades and the black base coat. As I layered the paint using a sponge brush I noticed that after a while there was already a metallic sheen to the crown, it was very exciting as I was seeing the tutorial paying off. I took a break and allowed those layers of paint to dry. While I waited for that to dry, I decided to test out different glossy finishing acrylic paints on my little plastic bottle.

Day One

On the first day of working on the crown, I took the base plastic crown and began sketching ideas. I knew that the color purple had initially been reserved for those of royal status and wanted to incorporate that because aside from having an exciting history, it is also my favorite color. The Designer had provided many different images for me to draw inspiration from, and I had chosen three that I felt were both exciting but had a depth to them that was enchanting.

I first took the crown and popped out the plastic gems that surrounded the crown. then I took some Skulpticoat and strips of muslin and secured the back where the crown joined together. I immensely enjoyed using the skulpicoat because it adds great strength to the plastic, making it feel not so frail. Then, I added plastic beads that were shaped like flat circles, adding a bit more texture. I then followed a tutorial on how to make something look like a realistic gold crown. I tested this step by step on a plastic bottle where I keep plastic bands. The first step was to paint the crown black. Once that was completed I stopped there for the day.

css.php
Skip to toolbar