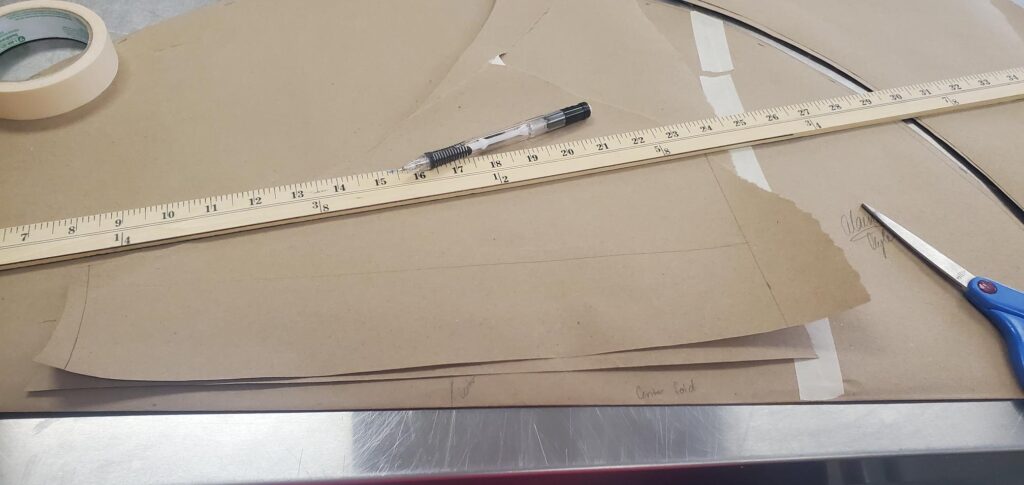
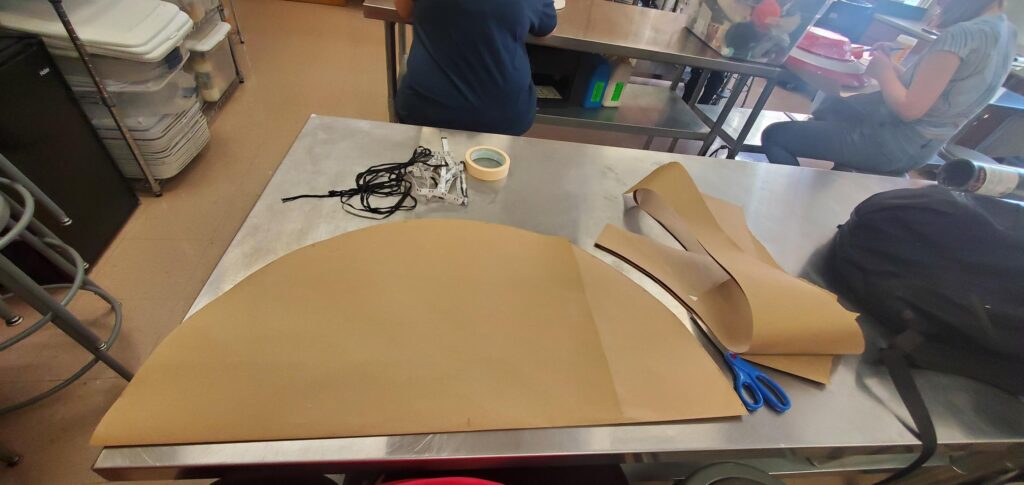
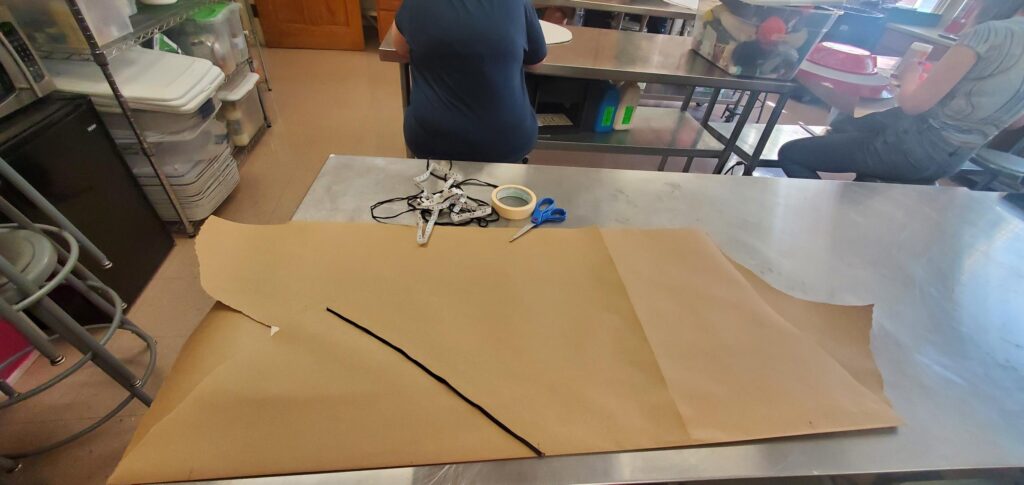
Alaina’s blog Thoughts, Assignments, and Other things

Monthly Archives: April 2023

You are browsing the site archives by month.

Final Project: Shield

Day One

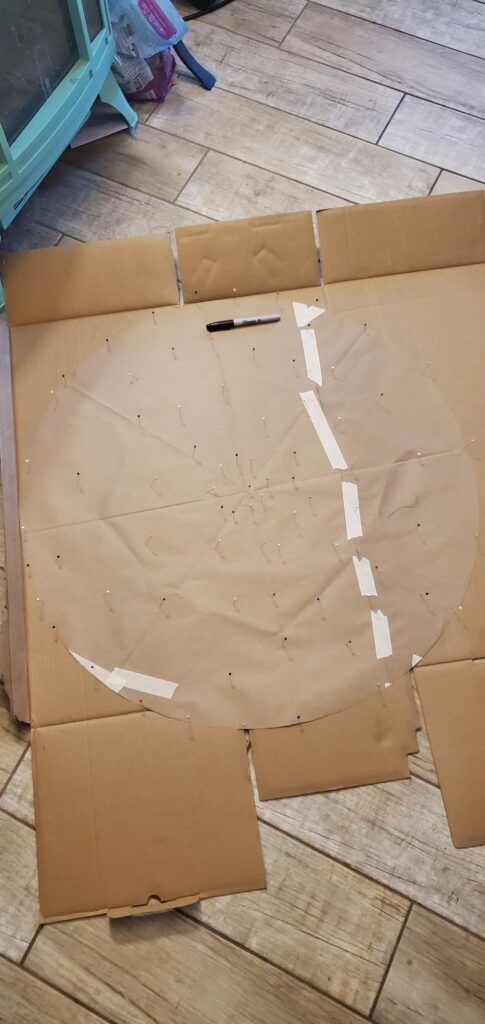
I began researching shields and their correct size based on the images provided. I went with a Celtic-looking shield with some very beautiful knotwork. When looking up the sizes, typically most rounded shields, flat or otherwise are around 30″ to 36″ in diameter. So I began by measuring out a suitable diameter for my size, which was around 30″. I then took a string and created a perfect circle template for my shield. When I went home that evening I began cutting out two pieces of cardboard that would act as the foundation of the shield.

Day Two

I then glued two pieces of cardboard together, at first it was a bit tricky because I had included just a small enough curve to give it an illusion, but the hot glue would not stick, so I opted to use crazy glue. It worked. I took my Ipad and started tracing the Celtic knots. I discovered that I could trace them onto some foam and I put that down.

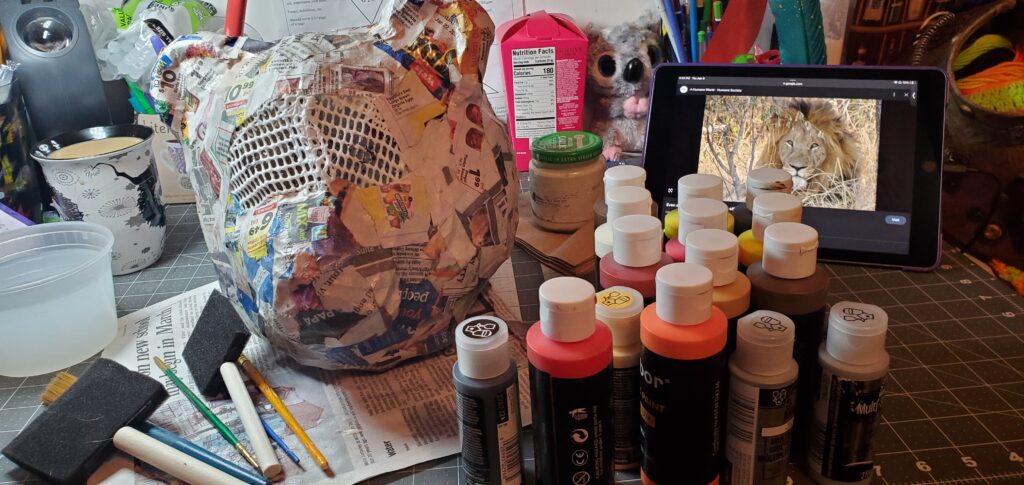
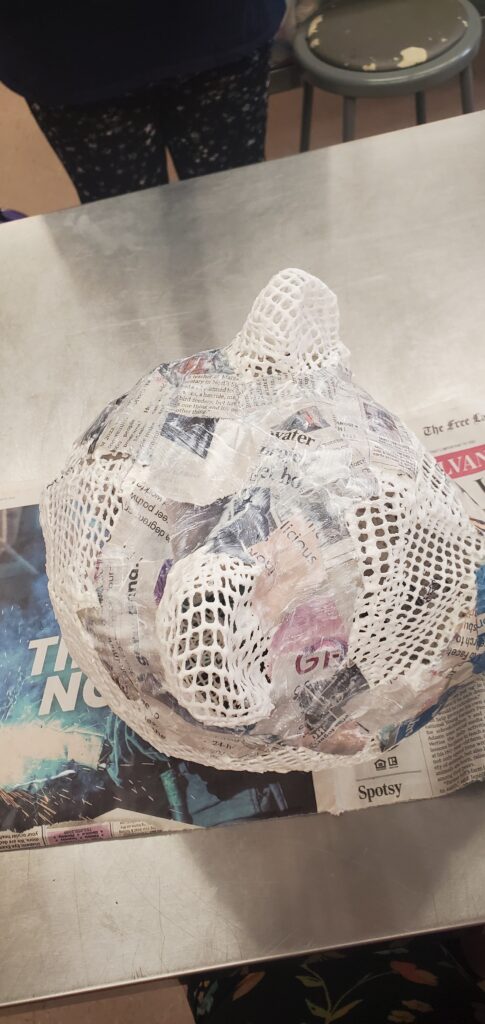
In class, I used the variform to mold a half circle for the center of my shield. It is lightweight and easy to use. When I got home I marked one-inch sections along the bottom for when I glue it to the main part of the shield. Then I began using sculpticoat and silver tissue paper to create a smooth surface. once that was dry I cut the one-inch tabs. Once that was done I painted both sides of the cardboard black, wanting a solid base to start planning out things. I then glued flat cardboard onto the edge of my shield for a nice clean finish.

https://drive.google.com/drive/folders/1VEWo2uEWmN0MM1hJOKvxwB34b6-tdPnL?usp=sharing

Day Three

I glued on a handle for the arm and the hand to hold on to. It was based on where I would place the four main knots. It was easy to guess where would be the most comfortable, and where I would get the most movement for it if I was on stage. I then glued the centerpiece on. Later I take it off because it is slightly off-center. On the centerpiece, I glue an inch of foam to make a spot for the chords to sit properly.

https://drive.google.com/drive/folders/10VEFiyEYq0G21tsF1PFw3K8SJUpNgkPU?usp=sharing

Day Four

I began cutting out more foam pieces for the knots as well as pieces for the middle marker. Once those were done I glued them down, being careful to refer to the original image. I then sculpticoated everything. Once that was dry I began painting, using colors as a way to make the foam look like metal. I layered the paint. Once that was dry I started adding more golden paint, making it shine brightly. Once that was dry I glued on the rope, painting it gold to match the rest. While that dried I began painting on the runes, careful to copy them exactly. When that dried, I flipped over the shield. I had been having issues with the handles staying on, so I used a combination of superglue, hot glue, and duck tape to secure the straps. then I sculpticated it so that once it dried there was no way that it would ever come off. I also paper-matched the handles to look like leather, using techniques that we had used in previous projects. When that dried I sealed it with the last bit of sculpticoat I had.

https://drive.google.com/drive/folders/18jn5xl5VKdu7MxQArSaJB89jo2vvo4f_?usp=sharing

I enjoyed this semester and learning about new ways to complete things. I also enjoyed working with various forms of thermoplastics. My favorite thermoplastic would have to be viraform. I feel like I have a lot more to learn about it. I also love scultpicoat. It is so cool that it turns into plastic when dry.

Varaform Headpiece

Day One

We began with receiving an animal mask, foam headpiece, and instruction to build up the back of the mask by using newspaper and tape or anything that would be able to form a proper back of the headpiece. The mask that I received was the Lion mask. When I got home that evening I began crumpling newspaper into different-sized balls in order to build up the back of the head. I made sure to add enough padding that it did not abruptly stop or not be flush with the mask.

Day Two

When going into class for the second day, I realized that what I had built was not big enough to flow nicely from the mask to the back of the head. So I continued to stuff and ducktape the headform until I became satisfied with the size and shape. Once satisfied, I began wrapping the head form in plastic wrap, preventing the Varaform from sticking. The sad thing is that between the duct tape and the plastic wrap, the more minor details of the mask were lost, such as the grain of the hair and the details of the mouth and eyes. it all felt very smooth. Then I began adding varaform, starting the beginnings of the headpiece. Once the back had cooled and became solid, I cut it down the middle so I could remove the basic head shape. I did not do the ears the same day because if I had it would have become stuff and even more difficult to remove. I found that when removing the varaform that even though I had used plastic wrap it had still been a bit difficult to remove, the head had shrunk in some areas. But I was able to remove it easily once I cut from the center back to where the ears would sit, forming a massive Y cut.

Day Three

I got a pot of boiling water and began working on forming the ears. It was a bit difficult because I had a specific idea of how to form the shape, but the plastic wrap that I had used had the ears flair out a bit. I had to press hard against the ear to get the proper shape. Once that was done, I carefully removed the ears and dipped the edges into the hot water, and quickly placed them on the main head form. Then I took the varaform and smoothed out the edges around the neck and center back so that the actor will not get scratched on the sharp plastic. Then I began sculpticoating the form, doing a paper mache technique to get a smooth surface to paint on later.

Day Four

When I got to the classroom I continued to paper mache the surface, making sure to leave space to see out of the mask. I continued to cover the mask throughout the class, leaving it to dry for the rest of the day. Once I got home I began painting. I grabbed a large variety of paints, reds, yellows, golds, oranges, silver, white, and my clear acrylic paint. I started off with a silvery-white base to cover the darker parts of the newspaper. To dry things a bit quicker I grabbed a hair dryer and made sure each paint layer was dry before continuing on. I noticed that if I held the dryer in one spot for too long the Varaform would begin to soften really quickly, so I had to keep the hot air moving as to not ruin the integrity of the piece. I added details of the mouth, using dark red and then using black to make it look similar to the image of a real Lion. I tried to mimic the yellow-gold eyes that they seemed to have, but it was quite difficult. Then I worked on trying to make the mane look nice. I layered browns, reds, golds, tans, and yellows to bring a layered look. Once that was dry I added black lines to simulate the hair direction but to also give it more textured-looking detail. finished with the painting, I added a bit of felt around the neck to make sure the actor would be comfortable. Then I absolutely covered the piece in clear acrylic to give it a nice shine. I let that sit overnight and then in the morning, I took the finished product photo.

css.php
Skip to toolbar